|
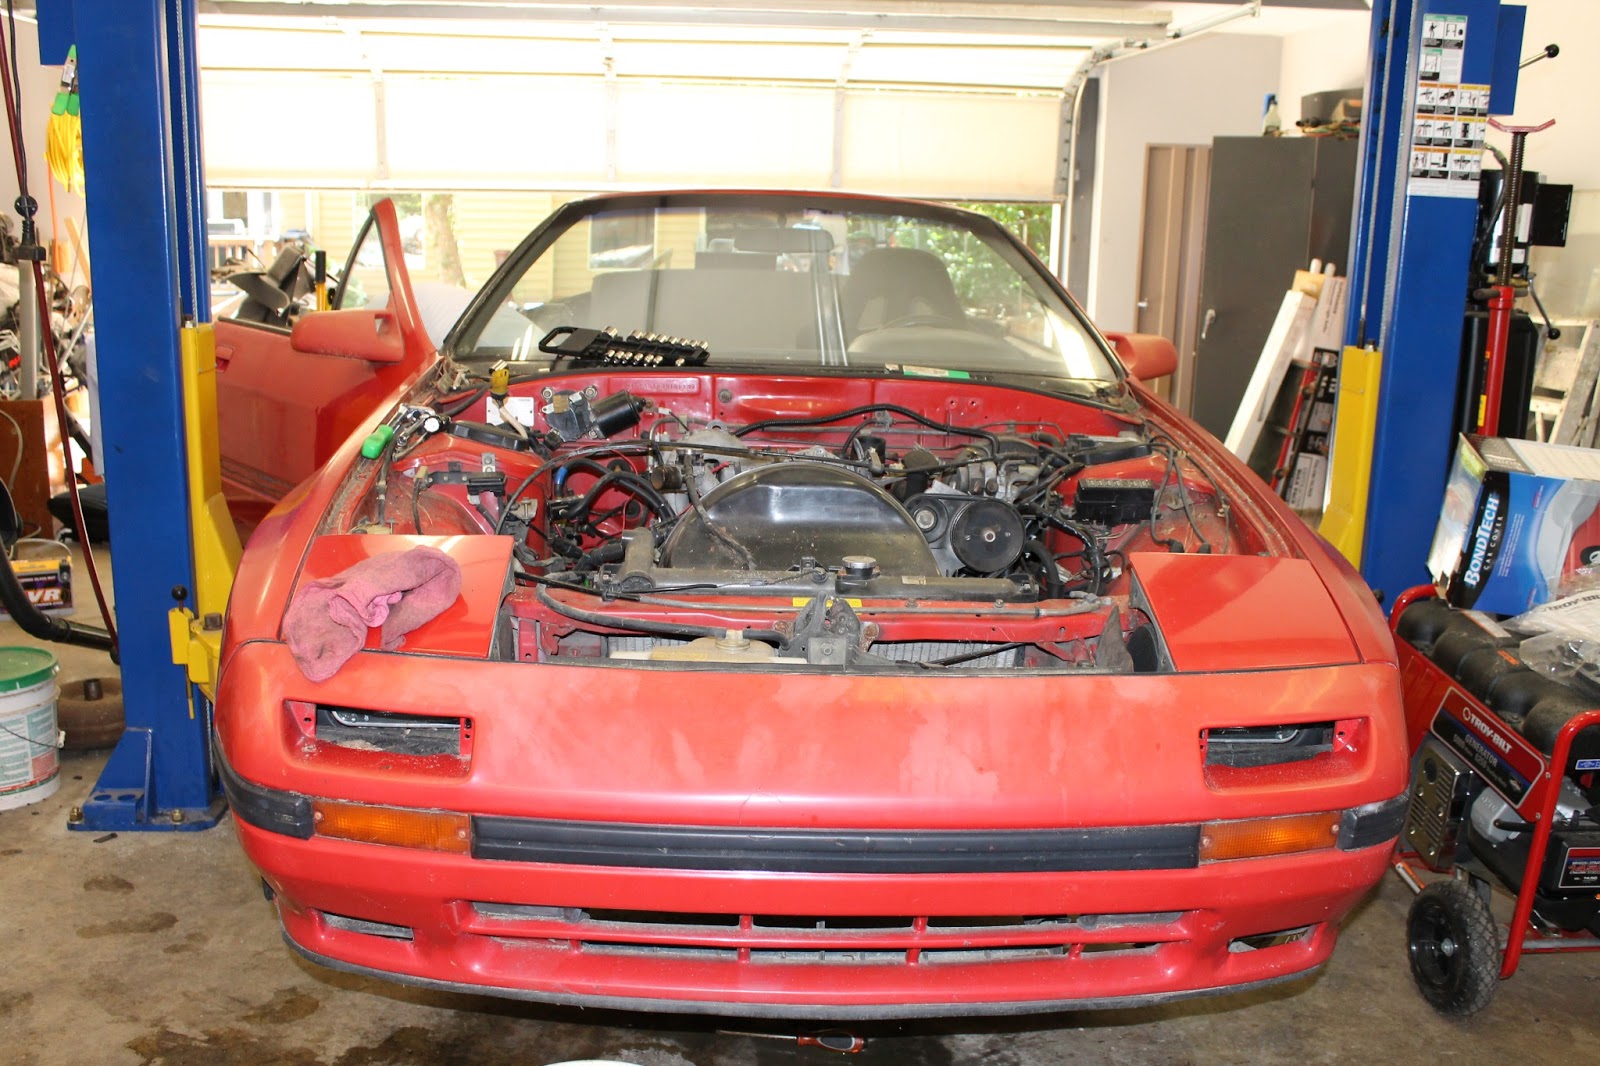
| Filthy car. |
I understand the principles and theory behind a lot of stuff, including painting a car. However, when it comes to execution, I just can't get things to go smoothly. That was until I decided to paint the engine bay of the 7, and now I know exactly what it takes to get a good result: a shit load of prep-work and time.
 |
| Turned out pretty legit. |
The first step I took in the redo of the front-end was to coat the wheel wells with trunk-bed liner. I got a can of it from Pep-Boys and just followed the instructions. I did two coats on each well and ended up with a pretty sweet result. I'm curious to see how it will hold up to the conditions and inevitable brake fluid exposure.
After I was happy with the wheel wells, I masked everything off and started to prep for paint. I degreased and washed the entire bay a few times to try to get all the caked up grime and gunk out. I then masked everything off and plugged all the holes in the firewall and wheel wells to prevent overspray. After it was masked I started the prep work by scuffing and cleaning the entire bay. In retrospect I should have done more sanding in addition to the scuffing.
 |
| Prime time. |
My original plan was to get single-stage car paint and just spray the thing using the compressor. Unfortunately, we don't have a decent moisture trap on the system and it's humid as hell these days. I decided against using the compressor and air gun in favor of spray bombing the bay. At first it seemed like a terrible idea, but I looked at some people's bays on the net and they looked good. After all, it was going to be under a hood 99% of the time anyway!
I started off with a few coats of primer, and scuffed a bit between those coats. I think I should have done more sanding between the coats, but you live and learn, right? The primer actually turned out great, and it got me really pumped for the final result. At this stage, everything was looking good and I was feeling a bit better about using a spray can to paint the bay.
 |
| Primed and blah blah. |
After I primed the bay, I scuffed it some more and cleaned it with some paint prep stuff. I had previously picked up a random red color Duplicolor paint from Pep Boys, so I busted the cans out and went to town. I learned very quickly how long a spray can lasts when painting large surfaces. The answer to how many cans I used is 4.
After laying down the red, I let it sit for a few days to set before I
 |
| First coat of red. |
sprayed the clear on it. Once again I opted for spray can clear, since I didn't want to get a bunch of water in my spray with the compressor. I picked up a few cans of clear from the store and went to town.
This was the part that caused me the most grief in the whole process. When I cleaned the paint before I sprayed the clear, I used a regular shop towel to wipe it clean. The result wasn't pretty. The clear sprayed perfectly onto the fire wall, strut towers and front crossmember. Everywhere else, it didn't. A lot of the lint I had gotten on the surfaces showed up immediately after I laid down the clear, as they turned solid white.
 |
| All done! |
I was discouraged at the result, but decided to try to salvage it by trial and error. Luckily the first thing I tried worked like a freakin' champ: wet sanding. I got some 2000 grit sand paper, a spray bottle and went to town on the engine bay. I went over everything to smooth out rough patches, and clean up the clear. A few sections needed to be respray, so I sanded quite a bit more and laid down some more paint and clear.
After doing this all day, I finally gave the last coats a quick wet sanding to clean it up and the result turned out great in my opinion. It's not a deep gloss by any means, but after I wax it and do a little polishing, it will look pretty killer for a fartin' around turbo-cruiser!
 |
| BLING |
In between coats of paint and sanding sessions, I took the time to disassemble the suspension and clean it up. I had always planned on doing a bunch of suspension upgrades to the car, so now is the perfect time to do it. I ordered a bushing kit from Racing Beat to install as I put the car back together. If I can find it in the budget, I want to upgrade the shocks and struts now, but that is looking like something to go in at the end of the year.
 |
| Subframe painted up and ready to roll. |
While the subframe was out, it was the perfect time to give it a coat of paint. I ground off the surface rust on both pieces and prepped the surfaces for paint. I ordered some Por-15 from Summit to coat it, which also gave me the opportunity to order a water temp gauge. I then coated both parts of the subframe with a foam brush and waited, for what seems like forever, to dry.
 |
| 4 F4st 4 F4rio4s4444 |
Since red brakes are all the rage, I decided to do up my 4-pots with red paint. I want to paint the Mazda logo white, so I can totally act like they are Brembos or something. But still, these 4-pot Mazda brakes are the freakin' jam. While I was at it, I disassembled the spindles and gave it a coat of red too. Tryin to make it look snazzy under there, folks.