 |
| NO IDEA HOW MUCH WORK I WAS IN FOR AT THIS POINT. |
 |
| The last time she had a motor. *TEAR* |
I've owned my Rx-7 for almost 10 years, and of those 10 years I've driven it a total of 1 and a half years. The other almost 9 years, it has been slowly turning into the car I originally wanted when I started the process. For the nitty gritty, you can read my previous posts.
 |
| Werkin' hard. Hardly werkin. |
Fast forward to this year, and the car is finally legal and 100% registered and insured. I wanted to work out a few bugs and get the car together to tool around in for the summer and take it back into the shop in the winter to mod it. When I finally got the first wrench on the engine, I decided to throw those plans out the window and 100% redo my entire turbo swap. This time I was gonna do it clean, and make sure the car stood the test of time.
This basically means stripping down the car and doing it all over again. A turbo swap into an FC is probably the most straight-forward thing you can do to the car and doing it all over again won't be that difficult. This go around, however, I plan to clean the car up substantially from the ground-up and make it a nice weekend cruiser and curve carver.
 |
| De-turbo-ified. |
 |
| Almost everything out. GET OUT BRAKE BOOSTER! |
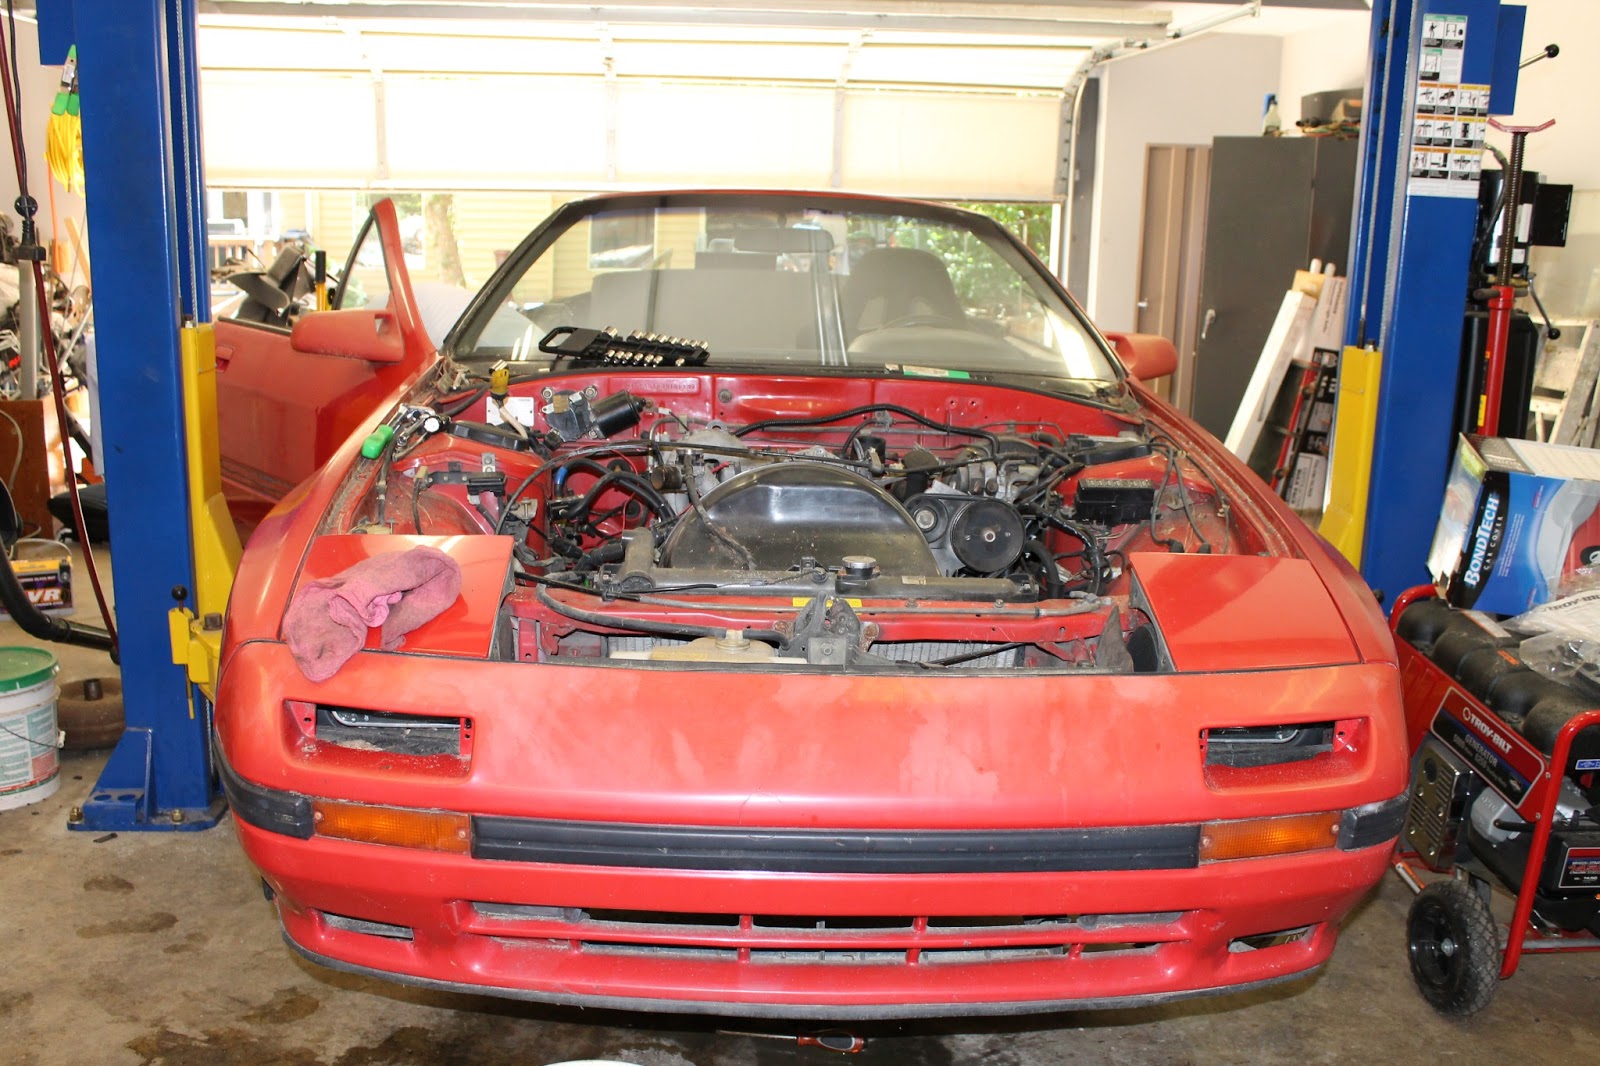
The first step was to pull the engine out of the car. All of the effort I had previous put in was now being completely reversed. In the course of two hours, we had the motor out of the car and sitting on the floor. The process of stripping took me a few nights, but over the course of a week I managed to get everything pulled out and gutted. This included everything under the hood, except for the driver-side harness and throttle cable. The harness proved to be a royal bitch to remove, so I left it in and masked it off. The throttle cable could just be moved out of the way easily so it stayed in.
 |
| Missing some Zoom-Zoom. |
The almost end result. I did pull out the brake booster and clutch master cylinder after these photos was snapped. You can see that the engine bay is just covered in funk from the oil cooler, which will need to be address when the engine goes back in. I still haven't figured out what I am going to do about it, but I can't have oil just flying around in the engine bay when it's nice and clean.
 |
| Well there's yer problem. |
Another area I will be addressing in the build is the wheel wells. I always thought it would be sweet to have trunk-bed liner in my wheel wells, so I am gonna slam some on there and see how it works!


No comments:
Post a Comment